Trending Stores
Hot Products
-
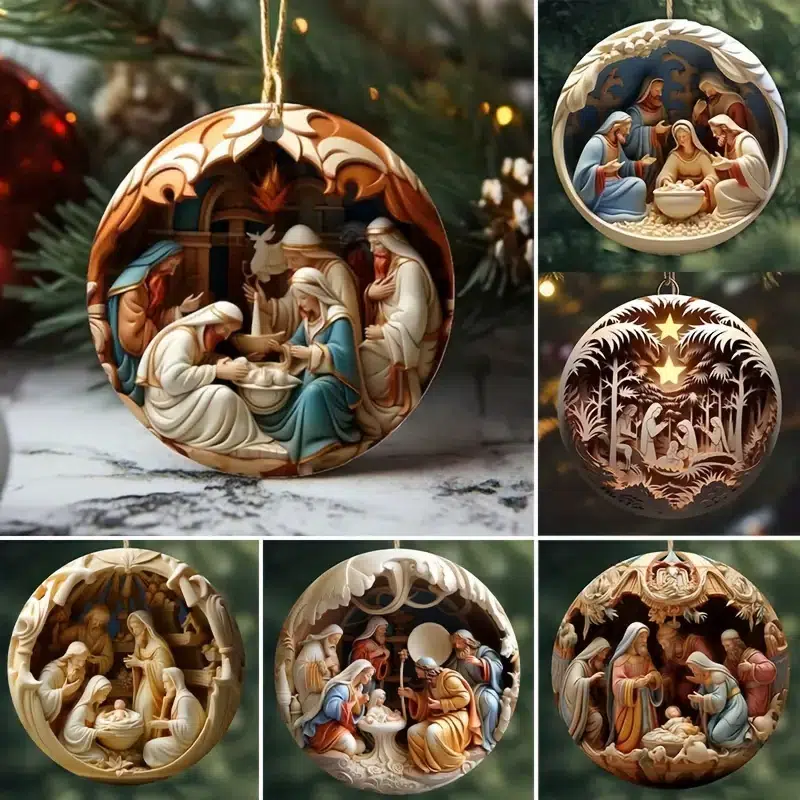
 6Pcs new acrylic Christmas decoration pendants, creative Christmas Thanksgiving Hanukkah car decoration pendants, creative monk statue holiday decoration pendants$5.12$19.99
 -
2pcs stroller hooks for hanging diaper bags, multi-purpose hooks for grocery shopping bags, artificial leather stroller straps, artificial leather for Christmas, Halloween and Thanksgiving gifts$1.66$14.99
-
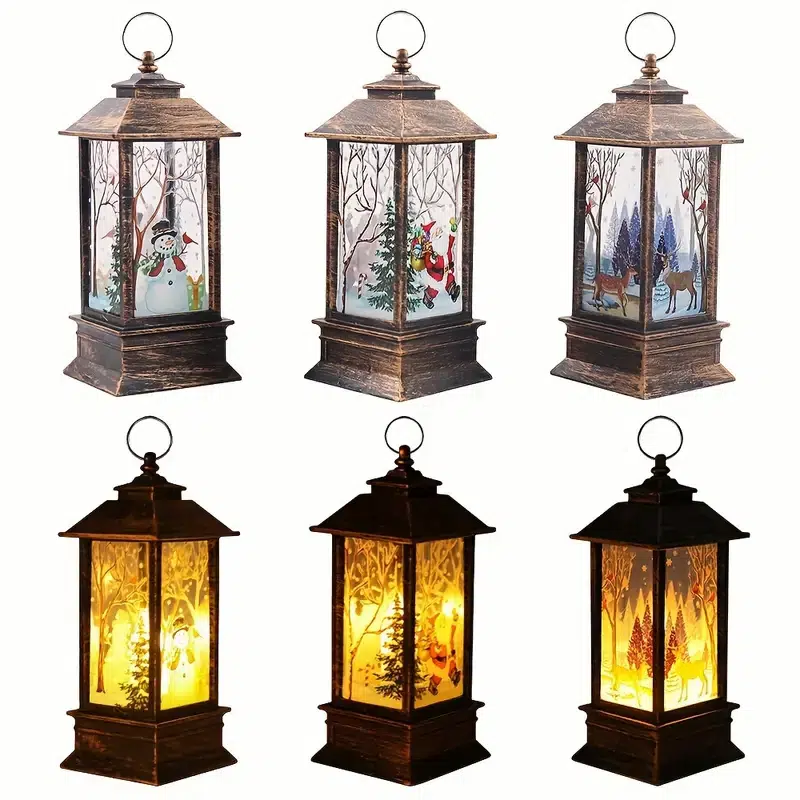
3 Christmas lights candlestick light nightlight Old man snowman decoration Nightlight table decoration Christmas decorations$7.99$39.18
-
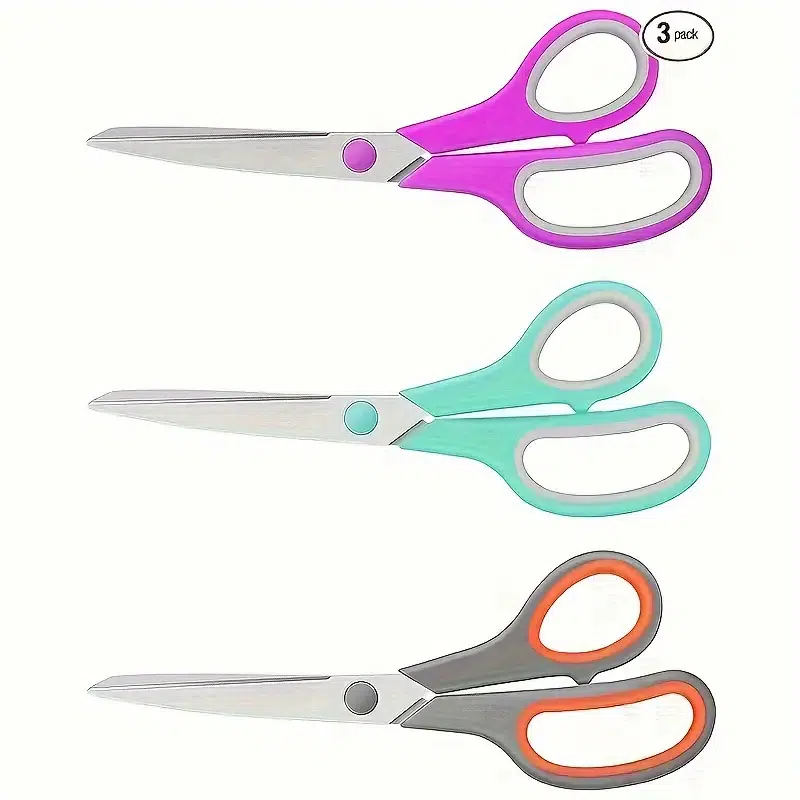
8-inch Universal Scissors Bulk 3-piece pack, ultra-sharp 2.5mm thick blade scissors Comfortable grip scissors for desk accessories Sewing fabrics Home craft school supplies, right/left hand$3.99$23.99
-
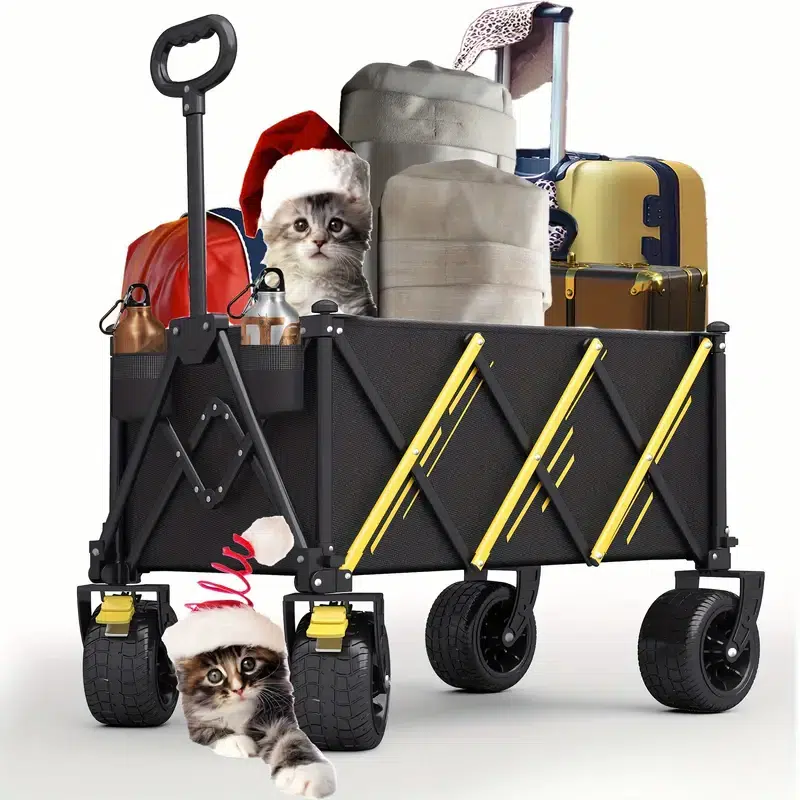
1 Foldable trolley Pet Transport Beach Trolley, 550 lb heavy duty multi-purpose garden trolley with all-terrain wheel, suitable for beach, lawn, sports, camping, black, 29.92 inches, Halloween, Christmas gift$46.57$99.99
-
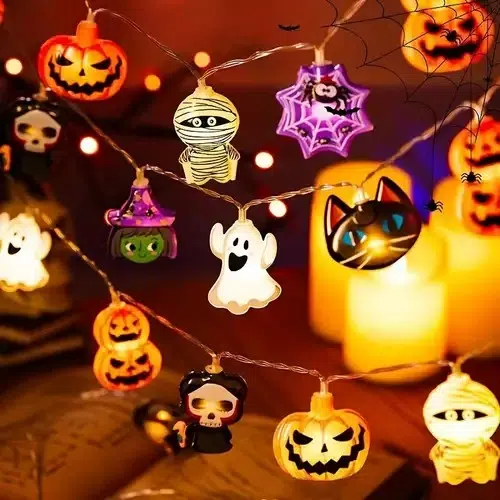
1PC 2024 New Halloween Fairy Witch Pumpkin Pirate Mummy Angel Spider webs and other dolls mix and match light strings suitable for Halloween Christmas party decorations$11.48$19.18
-
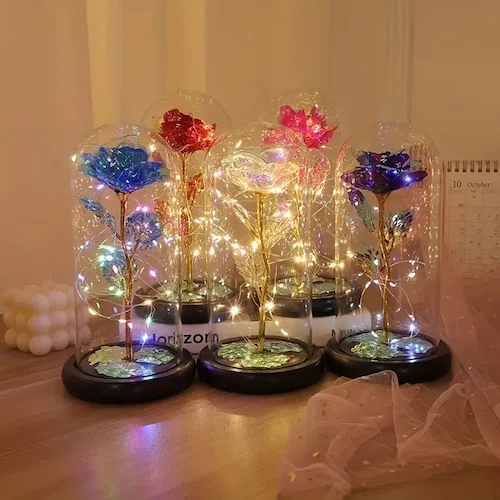
1pc Roses Gifts Artificial Flower Rainbow Rose Light Up In A Dome Gift For Mom Sister Wife Women Birthday Valentines Mother's Day Christmas Engagement$0.74$67.38
-
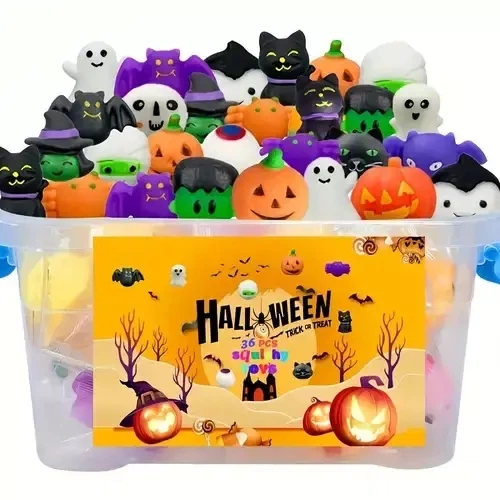
36 Halloween bouncy toys set for kids aged 3-6, cute candy or prank stress relief gift bag decorations, non-electric bulk party favors - multiple styles$6.88$10.99